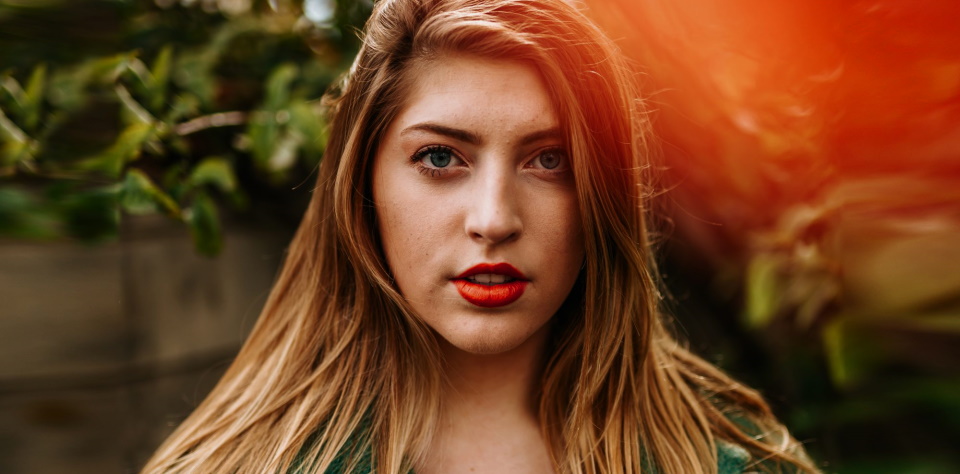
There are a few different approaches to creating dramatic portraits – you can use high contrast lighting, shoot from a low angle, or use props and backgrounds to create a visually exciting scene. This article will look at two simple techniques for creating striking portraits using short and broad lighting. With just a little bit of practice, you’ll be able to create images that make your subjects stand out from the background and powerfully capture their personality.
There are a few things you can do to create dramatic and compelling photos when it comes to portrait photography. One is to use short and broad lighting. This involves using a flash or other light source to create a shadow on one side of the subject’s face while leaving the other side bright. This creates an exciting contrast and can make your portraits stand out. Here are a few tips on how to achieve this effect.
The power of short and broad lighting in photography
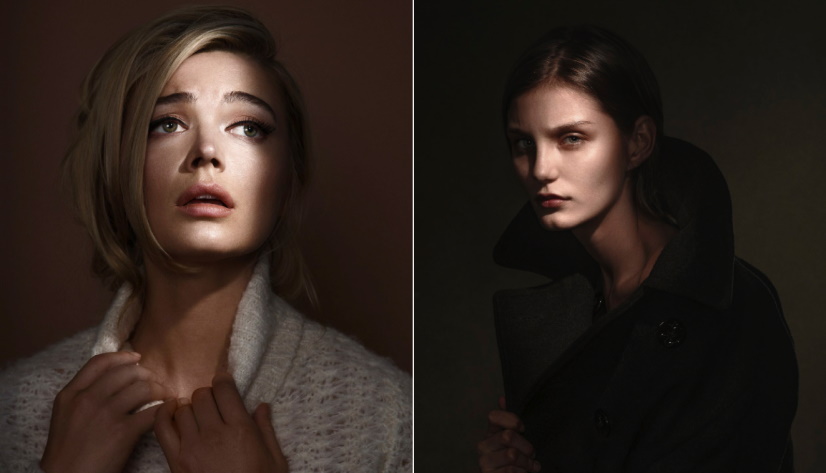
When it comes to portrait photography, there are a variety of lighting techniques that can be used to create different effects. One such technique is short and broad lighting, which can create dramatic portraits with high contrast and intense shadows.
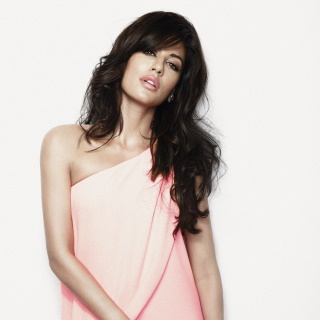
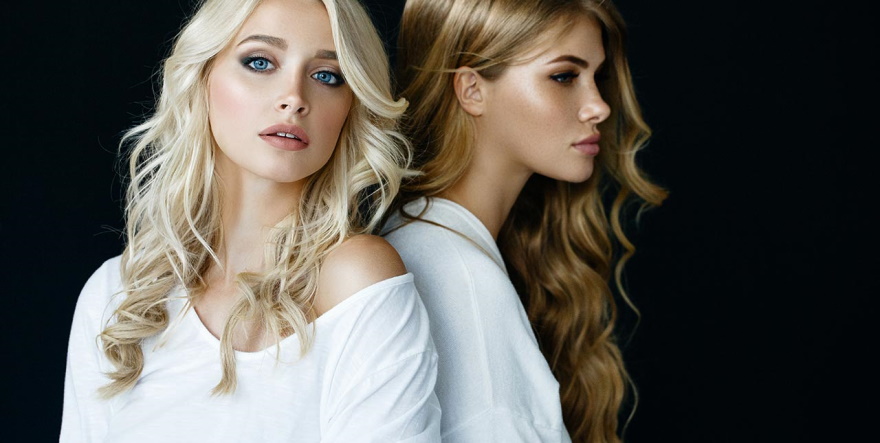
Short lighting is when the main light source is positioned closer to the camera than the subject, while broad lighting is when the primary light source is positioned at the same side of the camera.
Both techniques create high contrast by blocking or minimizing shadows on one side of the face while enhancing shadows on the other side. For this reason, short and broad lighting is ideal for creating dramatic portraits with a very distinct separation between light and dark.
How to create a broad lighting setup for portraits?
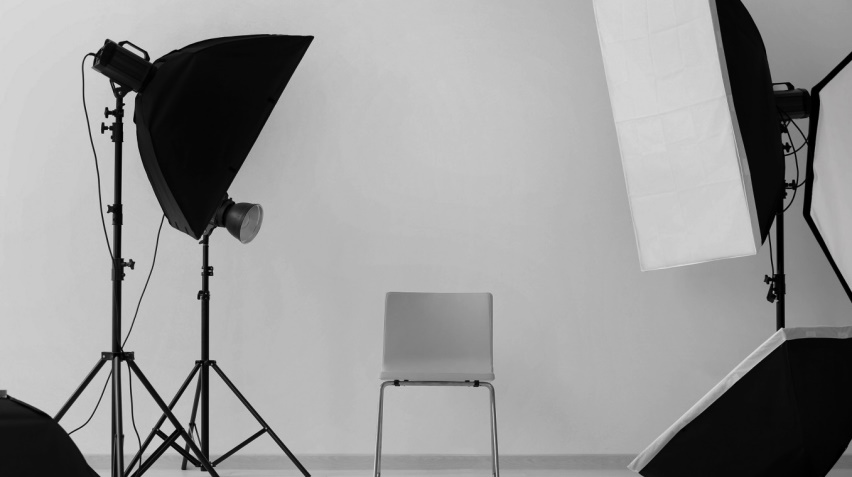
When you start taking portraits of people, one of the first things you’ll need to learn is how to create a broad lighting setup. This involves using one light source to light the entire scene, which can be tricky if you’re not used to it. This tutorial will show you how to set up your lights and camera for a broad lighting portrait. We’ll also give you some tips on adjusting your settings to get the perfect shot. So whether you’re just starting in portraiture or want to improve your skills, keep reading for step-by-step instructions on how to create a broad lighting setup!
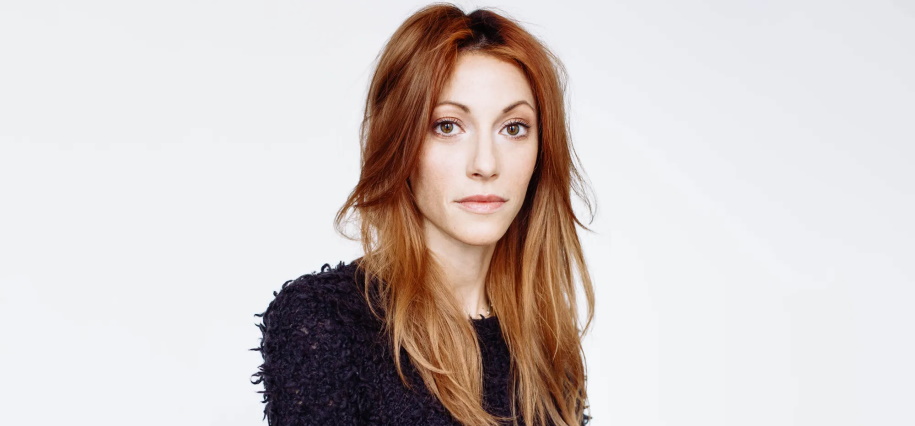
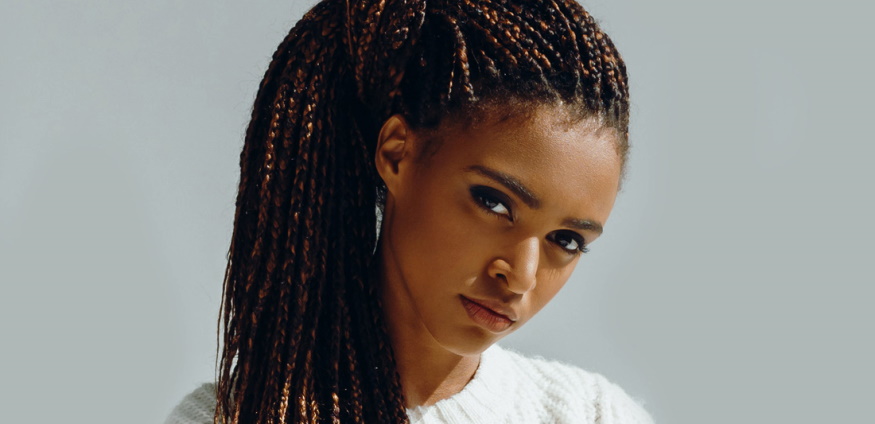
You’ll often want to use a broad lighting setup when photographing people. This means that the light is coming from in front of your subject and is hitting them directly. This type of lighting creates a pleasing, evenly lit portrait with minimal shadows.
To create a broad lighting setup, you’ll need to place your light source in front of your subject and position it so that the light is hitting them directly. You can use a studio light or a sunburst reflector for this. If you’re using studio light, position it so that the light is shining down on your subject from above. If you’re using a sunburst reflector, place it so that the sun is behind it and the light hits your subject from the front.